
Showing posts with label Chopper. Show all posts
Showing posts with label Chopper. Show all posts
Thursday, February 27, 2020
2003 Harley Sportster Chopper Wiring Diagram
Been helping a buddy get his 883 built and we are just about to the point of wiring it up. We are going to be using pieces of his stock harness so I took the factory wiring diagram and worked up this chopper wiring. The only thing he wanted to keep was the neutral light. Cool thing is that we can cut up and use the factory harness as this diagram keeps all the Harley color coding. Should be good for more than just a 2003, but this one is specifically for all 2003 XL's except the 1200s.


1980 Harley FXWG Chopper Project
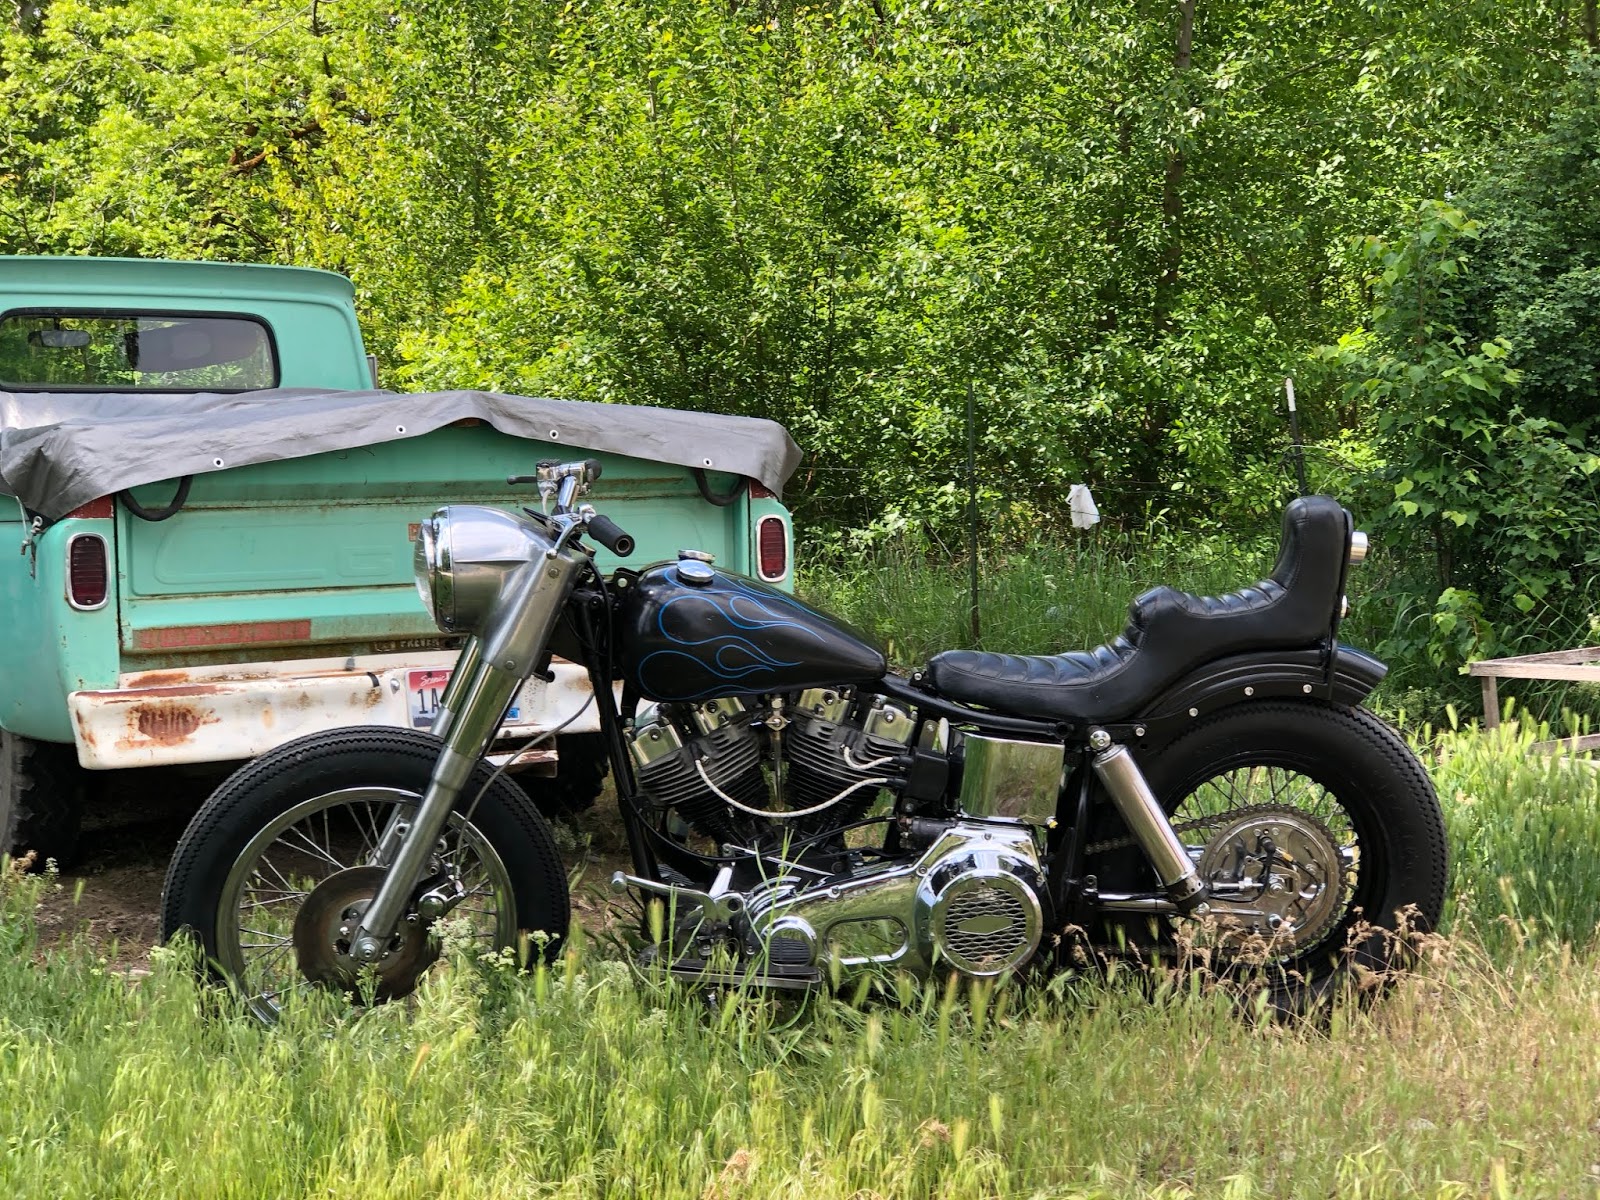
Wow! I guess it's been a really long time since I've updated my blog. Just looked at it and realized the last post was when I first got my new project. Since then, I've just about completed the 1980 and am getting it ready to go to the Hand Built Show is Austin TX. Here's how she sits now. Sorry for not posting the build progress!



Wednesday, November 28, 2018
1980 Harley FXWG Swingarm Chopper Project 1
It's been a long time since posting here. Considered shutting down all together but low and behold, I picked up a 1980 Wide Glide the other day. It's my first foray into the big twin world so we'll see how it goes. The bike was a basket case but seem to be in good shape. Got a bunch of parts on order. Cool stuff planned.


Friday, April 11, 2014
Finished The CB360 Now It's Sold
Well here are the last pictures of the CB360. The thing screams now and is a blast to ride. As with all my bikes I build, I've already sold it so somebody else can now have the joy of riding a kick ass vintage and allow me to build another.


Tuesday, June 25, 2013
More Triumph Progress
I wasn't happy with the lines of my first set of pipes, so I set out to redesign them. Much better now. While I was in the mood, I also tackled a new sissy bar since the first one was a bit wonky.
.JPG)
.JPG)
.JPG)
.JPG)
Thursday, June 20, 2013
Triumph Progress
Been making some slow progress on the chop. Trying out a new pipe design. Think I like it so far. Pretty damn close to getting this thing ready for tear down and paint.
.JPG)
.JPG)
Tuesday, April 16, 2013
Triumph Chop - Mock Up
Latest mock up. Picking up my motor this week so I really need to get the sissy bar and tail light mount done this weekend.
Also, it's never to early to exposing the kids to metal fab!
.JPG)

Also, it's never to early to exposing the kids to metal fab!
.JPG)

Friday, April 12, 2013
1975 CB360 Brat - Part 3 - Brake Rotor
Started drilling my brake rotor. 93 holes times 2 drill sizes, 186 pulls of the lever.
.JPG)
.JPG)
Monday, April 8, 2013
1974 Honda CB360 Street Tracker Brat Build -1
Picked up this pile for $200 the other day. Been wanting to building a street tracker/brat hybrid for a while now and this is the perfect platform for it. First order of business was to strip the whole bike and detab the frame. Ground it all smooth and it's now ready for reassembly.


Set of Rabbit Ears for a Chop Cult Buddy
A guy from Chicago saw my build on Chopcult and wanted a set of 1" bars in the same style.


Monday, April 1, 2013
Triumph Chop - Rabbit Ear Bars
Work on the bike has been pretty stagnant lately so I decided I would try and get some bars done this weekend to kick it back into gear.
Started out making some aluminum inserts for the top clamp since I had a 7/8" hole to fill. Then bent up some 7/8" DOM and made some bungs that got welded into the bottom and threaded for 1/2-13. I haven't welded in the brace yet, but you get the idea. Will post some pics of the finished product when I get it done.


.JPG)

Started out making some aluminum inserts for the top clamp since I had a 7/8" hole to fill. Then bent up some 7/8" DOM and made some bungs that got welded into the bottom and threaded for 1/2-13. I haven't welded in the brace yet, but you get the idea. Will post some pics of the finished product when I get it done.
Wednesday, March 6, 2013
Triumph Chop - Microphone Tail Light
You can turn pretty much anything into a tail light. This is the method that I've used before but never taken pictures of. Bought a vintage microphone and removed the mic from it. I always have to draw out what I want to do so I don't screw it up. Bought an 1157 Red LED light and an 1157 socket. From there, it's just working with what you've got. My mic body has a little lip on the inside so I turned a washer down to fit snug on that lip. Welded a 2" pipe to it and then used another washer for the light socket. A couple really basic tabs with some bolts and there you have it. I like using the Red LED cause I don't have to use a lens. Hope you all find this info helpful. Before I had a lathe I always did the exact same thing with my bench grinder and hand files.


Monday, March 4, 2013
Triumph Chop - Headlight Perch
Worked on the headlight perch yesterday. First got the triple tree all cleaned up and bored out the hole where I'd be mounting the headlight. Cut off a section of hex leaded steel and turned down the end to fit the hole then drilled and tapped it. Cut off half the upper section lengthwise and drilled it to accept the headlight.


Sunday, March 3, 2013
Triumph Chop - Fender and Oil Tanks Mounts
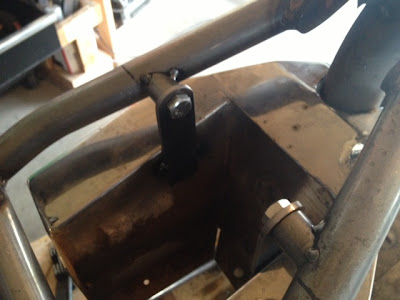
Bungs! Feels like I've just been making bungs the past couple days but I did get my oil tank and fender mounted. The tank is an old Santee horseshoe tank. Thank god for my JD2 notcher because it made the coped angles super easy. After spending a few hours on the lathe drilling and threading all the bungs, I got them all tacked in place.




Friday, March 1, 2013
Triumph Chop - Finishing Seat Mount
Put some final touches on the seat mount. Threaded a piece of 3/8 rod for 2 1/4" socket head bolts. Made it look real clean. Also got the spring perches done. Just need to burn it all in and move on to the next project.
.JPG)

.JPG)

Wednesday, February 27, 2013
Triumph Chop - Seat Mount
Finally got to work on the seat mount since it seems like nothing else is happening on the bike right now. Pretty simple concept and not too fancy but I think it'll work well.


Monday, February 25, 2013
Triumph Chop - Speedo Drive Cover
Since I'm still a beginner on the lathe still, I can use all the practice I can get. I know that I can buy a speedometer drive cover for like $40 but decided I would just go ahead and make one since I had the aluminum on hand anyway. My little lathe isn't up to the job of parting so I just had to cut it with a hacksaw and face it after the cut. Turned out pretty well after I made a couple HSS tool for the inside cuts.


Subscribe to:
Posts (Atom)